Welcome to Darrell Gulin Photography
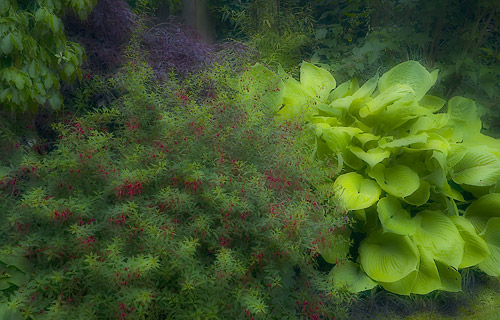
In and out of focus
Step 1: Open image in Photoshop
Step 2: Duplicate layer (Control-J)
Step 3: Select all (Control-A)
Step 4: Free transform (Control-T)
Step 5: Lower left corner pull down & out 1/8 to 1/4 inch for two sides then upper right pull up and out 1/8 to 1/4 inch
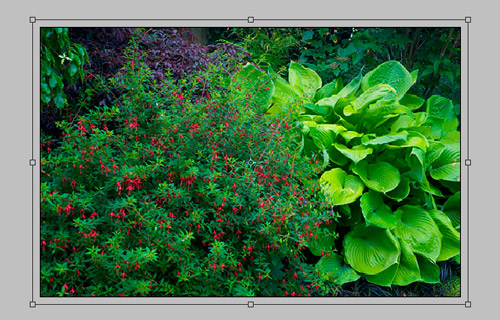
Step 6: Press Enter to apply
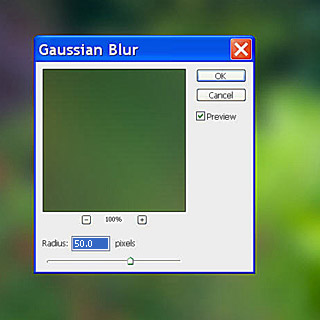
Step 7: Select Filter / Blur / Gaussian Blur and set at 50
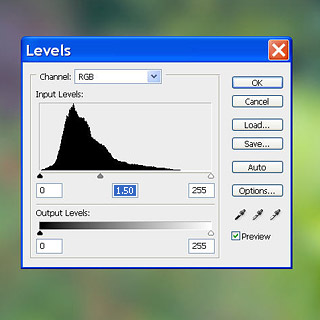
Step 8: Select Image / Adjustments / Levels and set mid point at 1.50
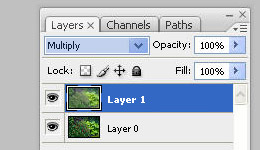
Step 9: In Layers palette turn off Layer 1 by clicking the eye
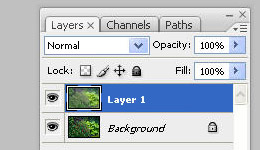
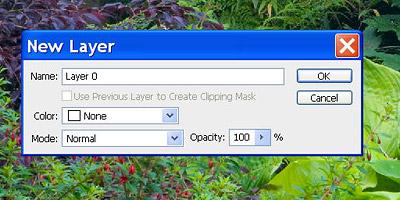
Step 10: In Layers palette double click the Background layer to unlock it and click OK in the New Layer dialog box
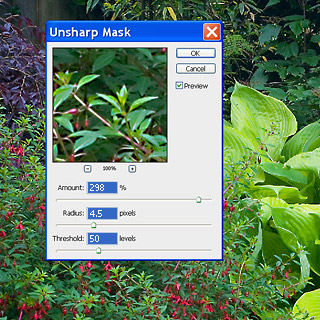
Step 11: Select Filter / Sharpen / Unsharp Mask and set the Amount to 298. Radius to 4.5 and Threshold to 50
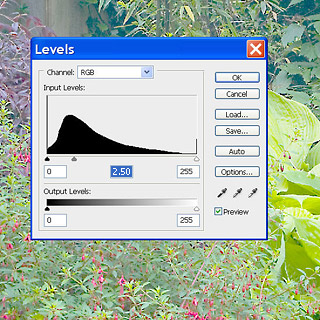
Step 12: Select Image / Adjustments / Levels and set mid point to 2.50.
Step 13: In Layers palette select Layer 1 and click on eye to turn it on
Step 14: In the Blending Mode drop down select Multiply
Step 15: Image is done! You can select Layers / Flatten Image to finish
Extra: Select Adjustments / Curves and adjust the curves to liking
© 2009 Darrell Gulin Photography - All Rights Reserved.